

Flooring
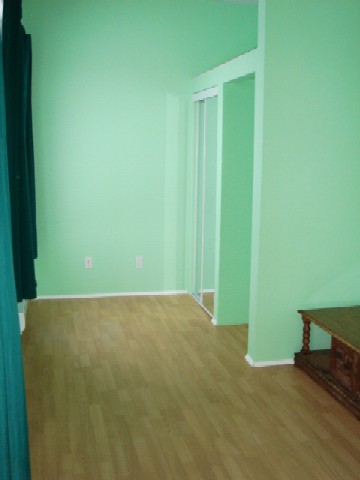
Laminate
After living a few years in appartments, a carpet was out of the question. Besides, the laminated flooring would cost about the same. Even labourwise it was not that intensive.
Totem had golden oak on sale. I bought about 2000 sq. ft. of it, enough for the entire house. Totem didn't have the same great truck rental service as Revy. Therefore, I used my car. Every day I stopped by Totem, loaded the laminate to the trunk of my car to a maximum allowed capacity and drove home. In five days I brought it all.
I left it lying down for about a week or two to let it adjust to the moister content in the air of the house. I then rolled the felt underlay beginning from a wall, put one laminate on edge toward the wall to give some room for seasonal expansion and contraction and began the first row.
To interlock panels, I used a hammer and a 2x4" piece of lumber. The challenging part was locking the last panel in a row near a wall. There was no room for the hammer. I knew that Totem had a special tool for this job but decided to make one myself. I made it out of two metal angles attached to a solid piece of lumber. Basically, the angles and the lumber formed something similar to tilda sign ~, only with right angles. One angle grabbed the laminate end close to the wall while I hammered the other angle, which was farther from the wall thus giving more room for the hammer.
The same tool was used for each panel in the last row in a room.
After gaining some experience, I was able to complete a bedroom in one evening.
Linoleum
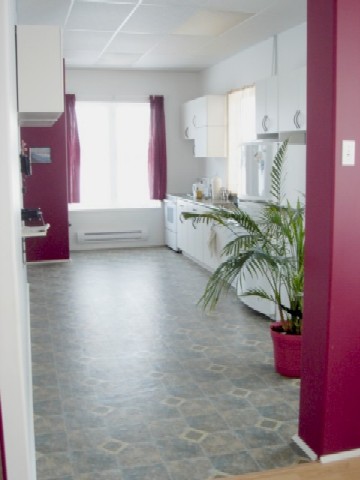
The only places in the house that didn't have the laminate were kitchen and bathrooms. They had a practical linoleum instead.
In the kitchen I put the linoleum first. The kitchen was square, and having no obstacles besides a nook was a bonus. The procedure was very simple: cut the sheet to the desired width, cover half of the subfloor with adhesive, roll the linileum over it and remove the trapped air by pushing it from the center towards the edges. Then spread the adhesive over the other half of subfloor and roll the remainder of linoleum back, repeating the air removal step.
Bathrooms had been easy to work in too as they were empty. I installed tubs, toilets and sinks later. Master bathroom had a closet for appliances and a partitioned toilet, so scrupulous measuring and cutting was required. Also, for the master bathroom I used an adhesive-free linoleum that was attached to a subfloor with a tape. One side of the tape stuck the subfloor and the other side to the linoleum. I applied the tape along the walls and diagonally across the subfloor. The linoleum edges were further secured by the baseboards later.