

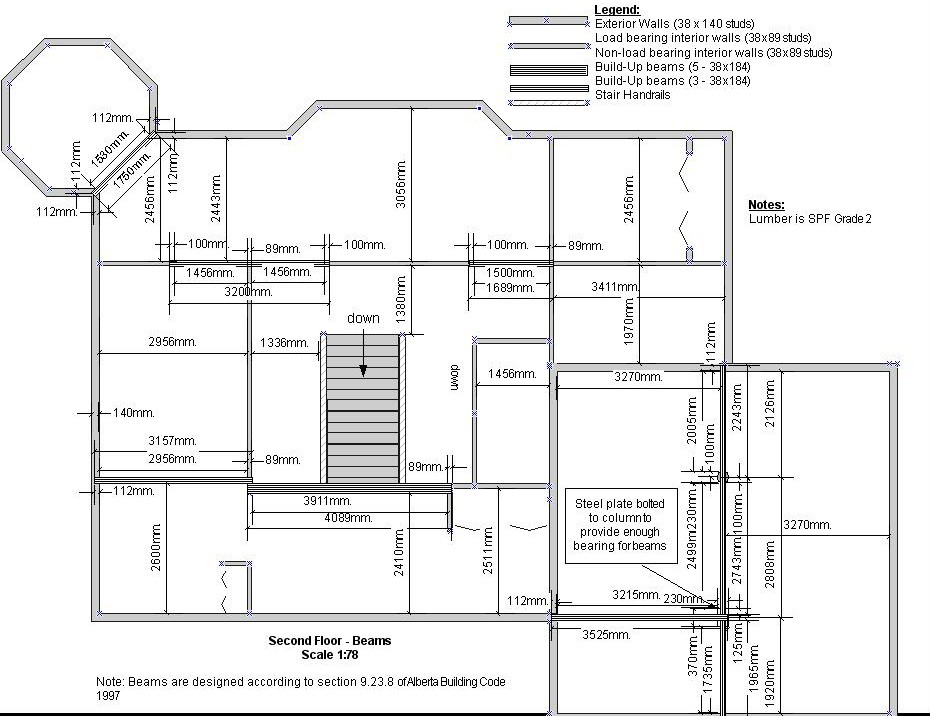
Framing the second floor
Internal walls
Two storey house was cleary a mistake from a single-handed construction point of view. I spent too much time and energy carrying building materials to the second floor.
The side effect was that it did strengthen my muscles, improve my figure and make me healthier in general.
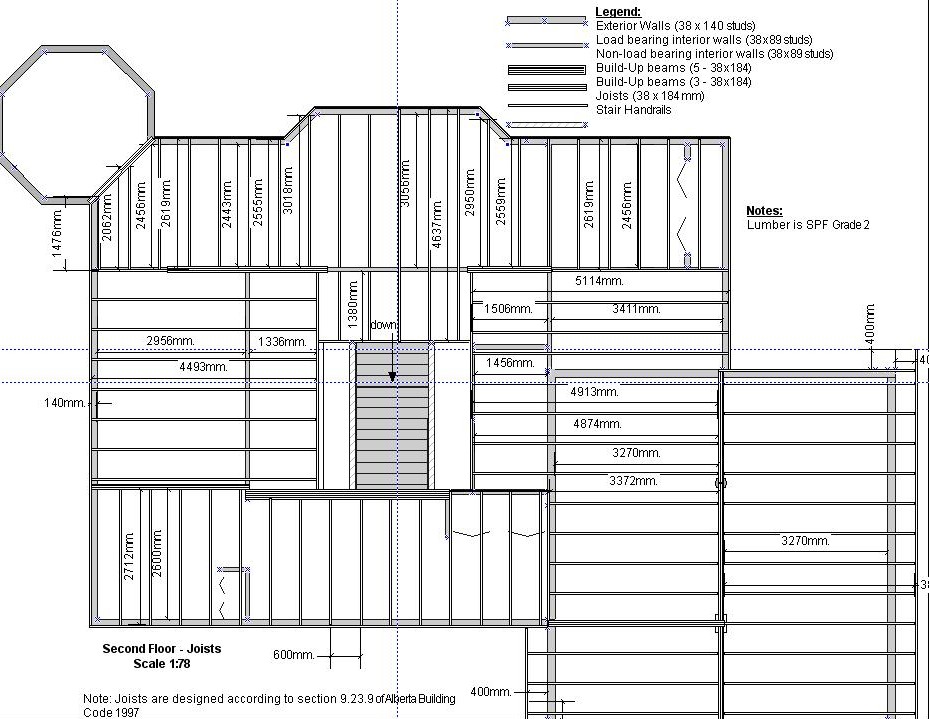
I made internal walls on the first floor first because some of them were supposed to support the second floor beams. As for the joists, they were attached to the beams in the same manner as the ones on the first floor using joist hangers.
Damn imperial system
I spaced studs 600mm o.c. as per The Alberta Building Code. What I didn't know was that it had been allowed to use imperial equivalents for metric units.
When Canada had adopted the metric system, they rewrote the Building Code and converted imperial units to metric by rounding them up to the whole hundreds of millimiters. Of course, 24 inches equaled 610 mm, not 600 mm, and all construction materials had been still manufactured in inches, not millimeters. Therefore, I had to trim every OSB board and every drywall by few millimeters in order for them to meet on a centre of studs, joists and rafters.
Was I mad at people who had rewritten the Building Code in metric system without paying any attention to the industrial products? No doubt! Did I swear at all? In both languages!
Fire separations
For the internal walls I used 2x4" SPF-2 lumber. Because the ceiling was 10 feet high, I had to use fire separations for internal walls consisted of 2x4" horizontal members in the middle of the wall. The idea was not to reinforce the framing by bracing studs but to slow the fire down and prevent it from spreading to the second floor fast. The external walls would have been filled with the insulating fibreglass batt that was fire resistant and therefore those walls didn't need to have fire separations.
Second floor flooring
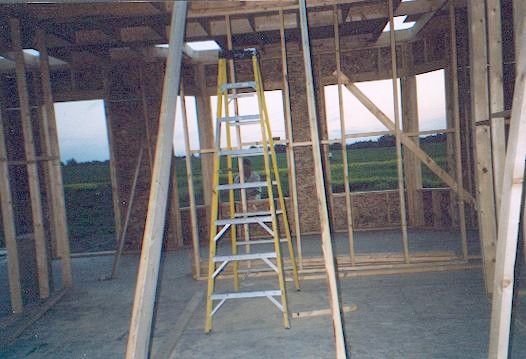
The most interesting part of second level flooring was lifting 3/4" OSB panels to the second floor. Don't forget that the ceiling was 10 feet high. I slided the panels up using two 2x10" that became part of the stairs later. It was very good exercise for my legs and my back.
The moral - think twice prior to embarking on two storey house alone unless you prefer working out outside of a gim.
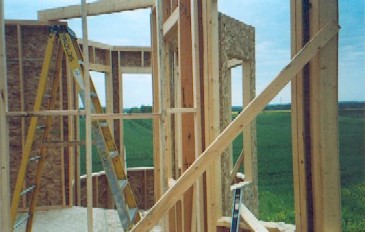
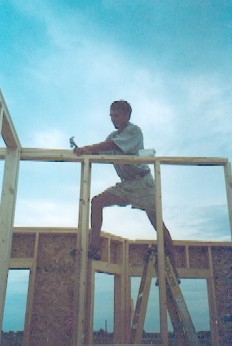
Building the walls
Walls had to be built on the second floor, which meant lifting more stuff "upstairs". In fact, I had built stairs that allowed training different group of leg muscles. 1/2" OSB, 2x6x10 and 2x4x10 SPF still had to go to the second floor.
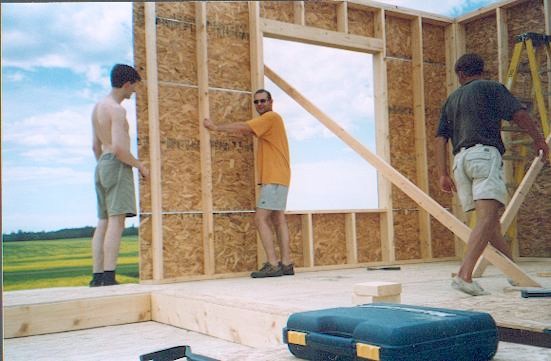
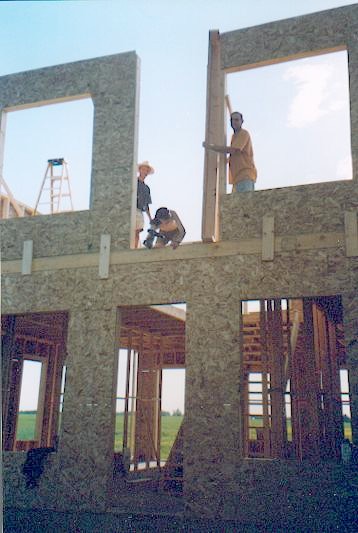
Raising the walls
We had done it before. Except this time it was about 12 feet above the ground and we could only support a wall on one side. Hence, we raised it first at about 30-40 degrees, then I screwed 2x4" braces on both ends of the wall. Then we continued raising the wall, holding by the braces, leveled it and screwed both braces to the floor.
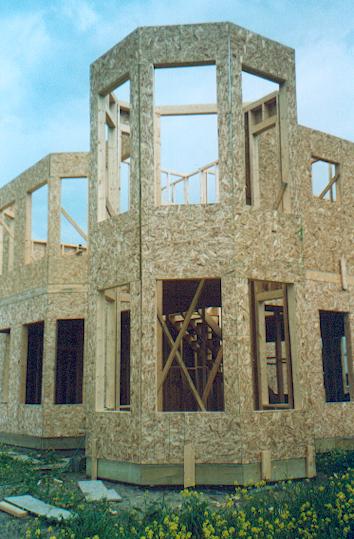
Fraiming the sun room
Sun room was quite unique as it had 7 walls and 14 windows. Making walls for the sun room was not a problem except that they were about 21 feet high and I had to raise them all alone. Unfortunately, I don't have pictures of this excited process but I did use pulley after I had raised two walls adjacent to the house. I made all walls on the second floor and then gently dropped them down like a swing. Then I lifted up the top of the wall with the pulley and leveled it vertically.
It took me the entire week.
The moral - everything is possbile, though not fast.
Nailing tables
I was amazed with the amount of details given in the Building Code. A good example would be the nailing tables. They specify the number nails, their length, type, spacing and even nailing patterns for every element of a house construction.