

Foundation
Concrete blocks
My previous experience of building the concrete forms for the footing without an electrical power hinted me to review the proposal of the poured-in foundation walls. Sawing a 3/4" plywood with a hand tool didn't seem to be very attractive. The plywood was a bit expensive too. Moreover, it would have been a waste of money since I couldn't be able to re-use it anywhere because of smelly liquid that was applied to the plywood to prevent it from bonding to concrete.
I had searched for anybody who could rent me the concrete forms but couldn't find anybody. Hence, the foundation walls were decided to be of the concrete blocks.
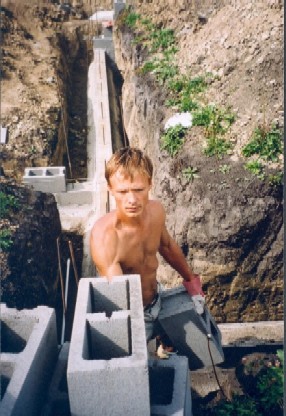
The first layer of the 20x20x40 cm blocks was anchored to the footing, reinforced with rebars and grouted with cement. Then the next six rows of blocks were put in place anchored to the first row in turn.
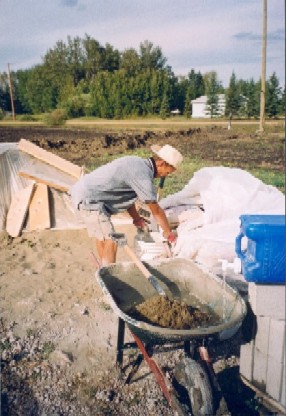
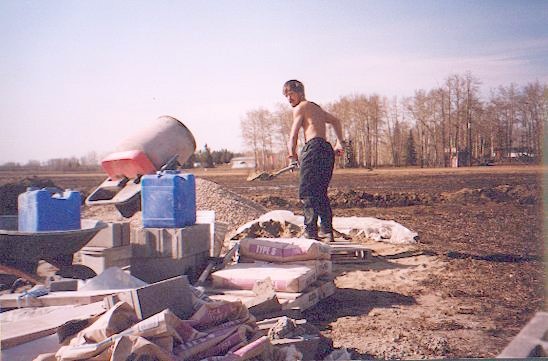
Building the walls with blocks was not very time efficient, especially with no power. All cement mixing was done by hand in a wheelbarrow.
Finished with cladding the blocks, another set of the rebars was cut and two 10mm rebars were inserted vertically into every second hole, then horizontally into the last row. Rebar intersections were properly bound with a steel wire. Then the whole wall was grouted with cement. Though this had happened only next spring.
Weeping tiles
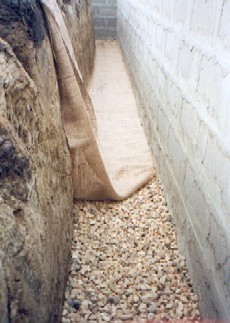
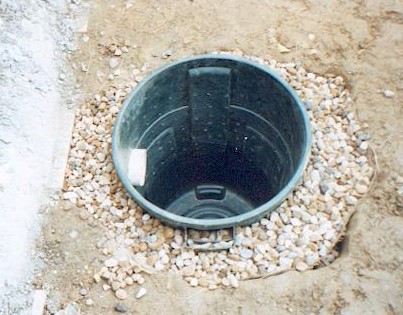
One thing that I was able to do before snow was to install the weeping tiles which were 4 inch PVC pipes with two rows of holes in them facing down and backfilled these pipes with washed rock, then covered it with a fabric to prevent dirt from getting in. Weeping tiles is the necessary element in a drainage system. Any water around the footing should be collected into a sump pit and pumped out. The weeping tiles are meant to prevent not only from wet basements but also from footing saging and wall cracks therefore ensuring foundation longivity.
Grouting
An electrical pole was finally erected and I got the electrical permit for arranging temporary power to the construction site. Grouting required lots of cement, so I had to rent an electrical mixer.
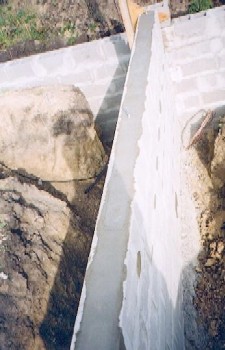
Parging
Next stage was parging the walls. I purchased lots of bags of ready parging mix as it was very goog product and yielded excellent results. It was very easy to work with too.
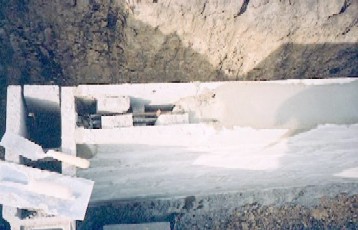
Coating
After parging, the walls must have been painted with a foundation coating that was supposed to make them waterproof. I decided to take another measure against moister and applied a 10-mil polyethelene sheet over the freshly painted sticky coating. Moister is damaging to concrete because when it gets in and freezes, it expands and when it melts, it shrinks. Forces released in both actions make concrete weaker and gradually destroy it. It becomes noticable in cracks.
My walls are not under severe pressure from backfilling because I don't have a full basement, only a 0.6m crawl space, therefore only half height of the wall is under the pressure. Nevertheless, I better be safe than sorry.
Foundation inspection
That was my first inspection if one wouldn't count the electrical one for temporary site power.
It went all well. I had called for the inspection but was not able to attend it. The inspector told me over the phone that I didn't have to and if I saw the green checkmark on the wall, then everything was ok and I might procede with backfilling. They would mail the formal report later.
Of course, the first thing I looked for when I arrived was the checkmark. There!